From enhanced office and patient management to chairside procedures, streamlining each step in the patient care process is crucial for creating a more profitable, productive and low-stress work environment for your team and a practice experience valued by your patients. This is particularly important for our team of two dentists and three hygienists. Our overarching goal is to optimize the predictability of delivering highly esthetic, long-lasting restorations while minimizing the time patients spend in the chair.
We have found that by integrating synchronized products and workflows into the practice, we are able to increase the efficiency of our chairside procedures while still meeting the demands of patients for highly esthetic, natural looking outcomes, particularly in cases that involve posterior direct composite restorations, which comprise approximately 60% of the cases we handle.

Today, we work with product-based solutions such as Ivoclar’s Efficient Esthetics Kit that are optimized to work together to streamline the restorative posterior workflow, help us minimize chairtime, and maximize the esthetics of our restorations. The new composite material cures faster and harder without the shrinkage forces of the older incremental layering process that caused sensitivity and marginal breakdown. And the new high-intensity curing technology works in tandem with these composites to cure a single 4mm layer in only 3 seconds, not only saving us valuable treatment time but also eliminating the challenge of possible voids between cured composite layers and failure of the restoration. Over the course of a single day, using a systemized approach that optimizes efficiency offers us the ability to effectively see and treat more patients, which leads to higher productivity and increased profitability.
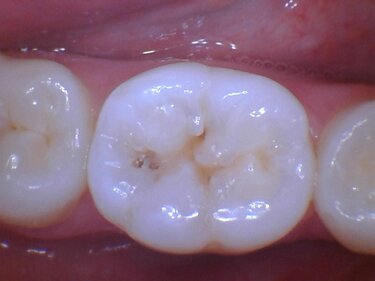
In the case presented here a young patient presented to the practice for a routine checkup which revealed dental caries on the occlusal surface of a posterior molar in her mandibular arch.
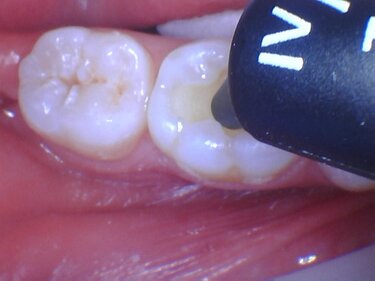
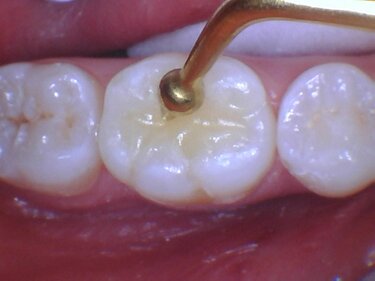
A 20-year-old female presented to the practice for a routine exam. She was asymptomatic but, upon examination, decay was detected on the occlusal of tooth #30 (Figure 1, below left). The treatment plan was to remove the carious lesion and restore the tooth with a highly esthetic bulk fill composite material that would blend seamlessly with adjacent dentition.
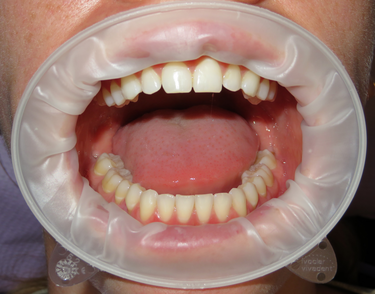
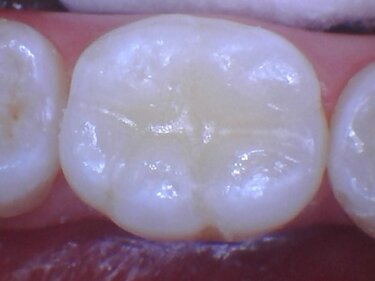
The patient was fitted with a lip and cheek retractor (OptraGate, Ivoclar) (Figure 2, below right) and an anesthetic administered.
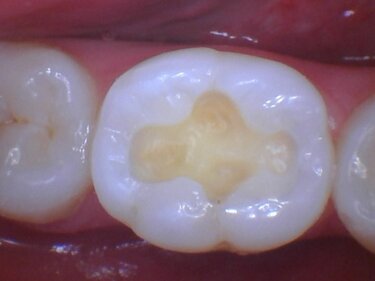
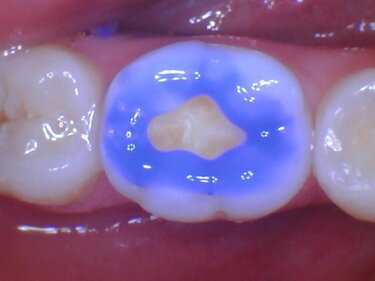
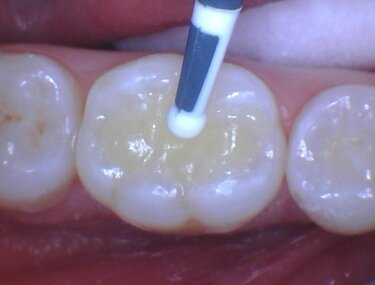
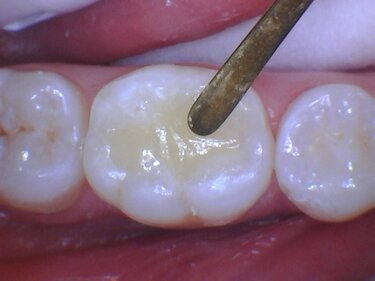
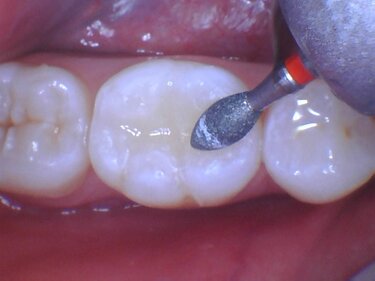
The carious lesion was removed and the tooth prepared using a carbide bur (557, Meisinger) (Figure 3, below left). To ensure optimal bonding of the composite at the margins, a 35% phosphoric acid selective etch technique was used along the perimeters of the preparation, rinsed after 15 seconds, and lightly dried (Figure 4, below right).
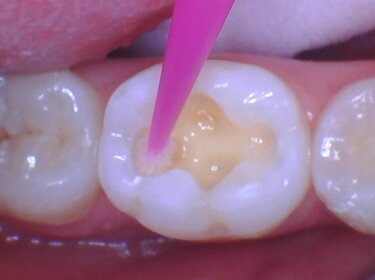
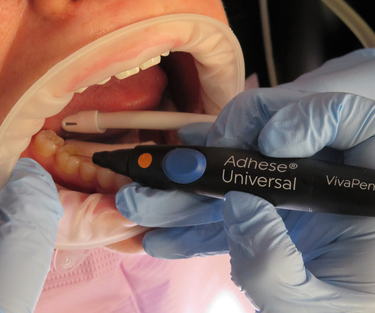
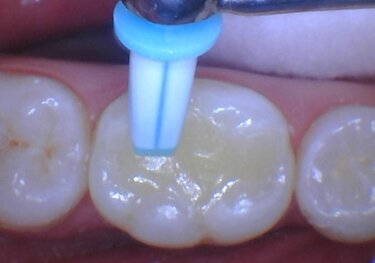
The internal aspects of the cavity were scrubbed with an anti-bacterial desensitizing and disinfecting agent (Hema-Glu, Henry Schien) for one minute and lightly air dried to aid in minimizing post-operative sensitivity (Figure 5, below left). Once dried, a single component, light-cured adhesive (Adhese Universal, Ivoclar) was applied to the cavity preparation (Figure 6, below right) and cured for 20 seconds.
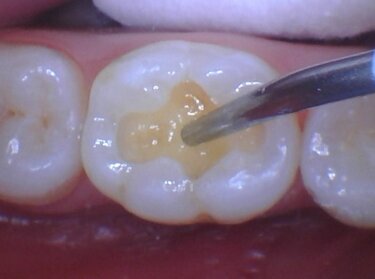
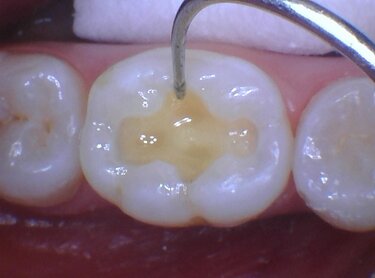
Prior to placing the bulk fill composite, a 1mm layer of flowable composite (Tetric PowerFlow, Ivoclar) was applied to the floor of the preparation (Figure 7, below left) and spread with an explorer (Figure 8, below right) prior to light-curing for 20 seconds (Valo,Ultradent). This step helps to ensure all dentinal tubules are sealed and protected from composite shrinkage.
The cavity was restored by then applying a final 4mm layer of flowable composite (Tetric PowerFill, Shade IVA, Ivoclar) (Figure 9, below left). To eliminate any voids in the bulk fill material, the composite was condensed (Figure 10, below right) and carefully adapted to the finish line along the margins (OptraSculpt, Ivoclar) (Figure 11, below bottom left) then light cured for 20 seconds.
Flash material around the preparation was removed and initial anatomy was shaped, smoothed and finalized (Composite Paddle, and Duck-head Nordent) (Figures 12-14, imagery below).
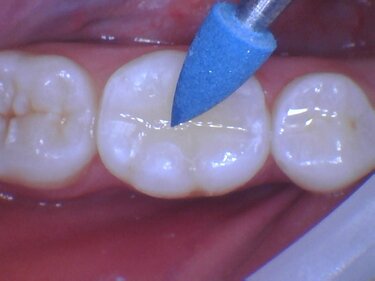
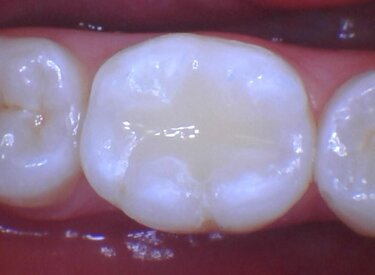
The anatomy of the restoration was refined using a diamond bur (Pointed Football Bur, Meisinger) (Figure 15, below left) and final surface polished (OptraGloss, Ivoclar) (Figure 16, below right and Figure 17, below bottom left).
Working with a coordinated and synchronized system of materials and technology that have been optimized to work together not only saves us chairtime but also enhances the productivity of the entire dental team and profitability of our practice. Most importantly, adopting an efficient esthetics approach optimizes the patient experience by minimizing chair time while maximizing the esthetic and durability demands of the patient, which builds patient/dentist trust and confidence.
